日経電子版が爆速になったということで、その対応策にあるWebP(ウェッピー)について、JPGと比べてどのくらい軽くなるのか試してみた
以前は日経電子版を読んでいました。今は読売新聞の紙面を読んでいます。通勤がないので、紙面でもゆっくりと情報を読んでいる毎日です。ちなみに日経電子版は大好きです(紙面と電子版のセットがオススメ!)。
なにやらTwitterで「日経電子版が爆速!」ということなので、http/2すげーなーとか、Fastlyいいのかーとか、いろいろ読んでいました。その中で、画像フォーマットはWebP(ウェッピー)にした!という説明があったので、WebPについて検証したいと思います。
WebP(ウェッピー)ってなに?
WebPは、いわゆる画像フォーマットです。まずはWikipediaで調べてみましょう。
ウェブサイトのトラフィック量軽減と表示速度短縮を目的としており、インターネットのWebページで広く使われている非可逆圧縮のJPEGや可逆圧縮のGIF、PNGの置き換えを意図する規格である。JPEGとは異なり、非可逆圧縮でもアルファチャンネルを扱える。
Googleさんが開発した画像フォーマットで、JPGよりも軽くて、アルファチャンネルも持てる、夢のような画像フォーマットです。アルファチャンネルは、現時点では透過した画像が作れるよ!くらいの解釈で問題ないです。アルファチャンネルを操作するということもそうないはずなので。
対応ブラウザは、こちらから確認できます。IE全滅、Firefoxも記述なしです。
WebPでどのくらい軽くなるのか検証してみよう
では、JPGファイルがどのくらいWebPに変換すると軽くなるのか、実際に試してみます。例によって、MacでHomebrewが入っているとサクッとインストールできます。超便利。
$ brew install webpインストールが開始されると、つらつらと以下の内容が流れます。
$ brew install webp
Updating Homebrew...
==> Auto-updated Homebrew!
Updated 1 tap (homebrew/core).
==> New Formulae
csvkit                     e2tools                    just                       simg2img
dps8m                      heartbeat                  kaitai-struct-compiler
==> Updated Formulae
...
==> Renamed Formulae
newsbeuter -> newsboat
==> Deleted Formulae
bchunk

==> Installing dependencies for webp: libpng
==> Installing webp dependency: libpng
==> Downloading https://homebrew.bintray.com/bottles/libpng-1.6.34.sierra.bottle.tar.gz
######################################################################## 100.0%
==> Pouring libpng-1.6.34.sierra.bottle.tar.gz
WebPを使ってみる
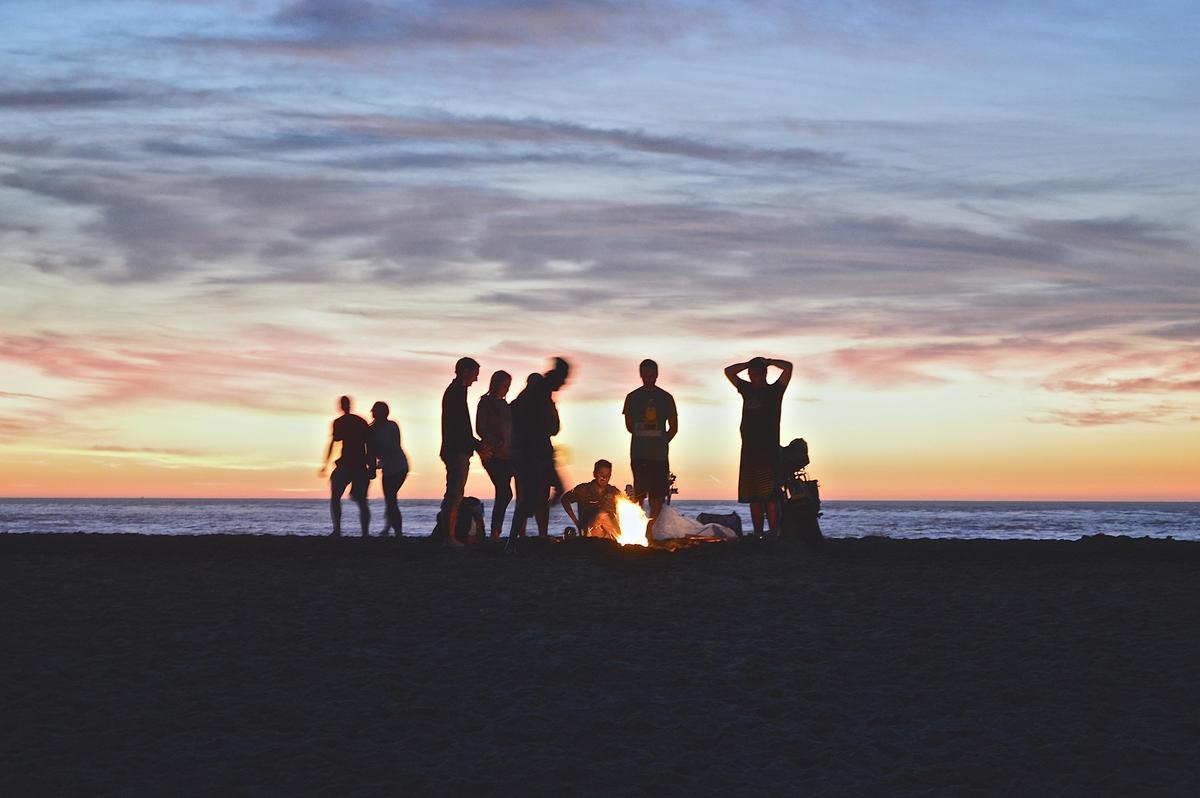
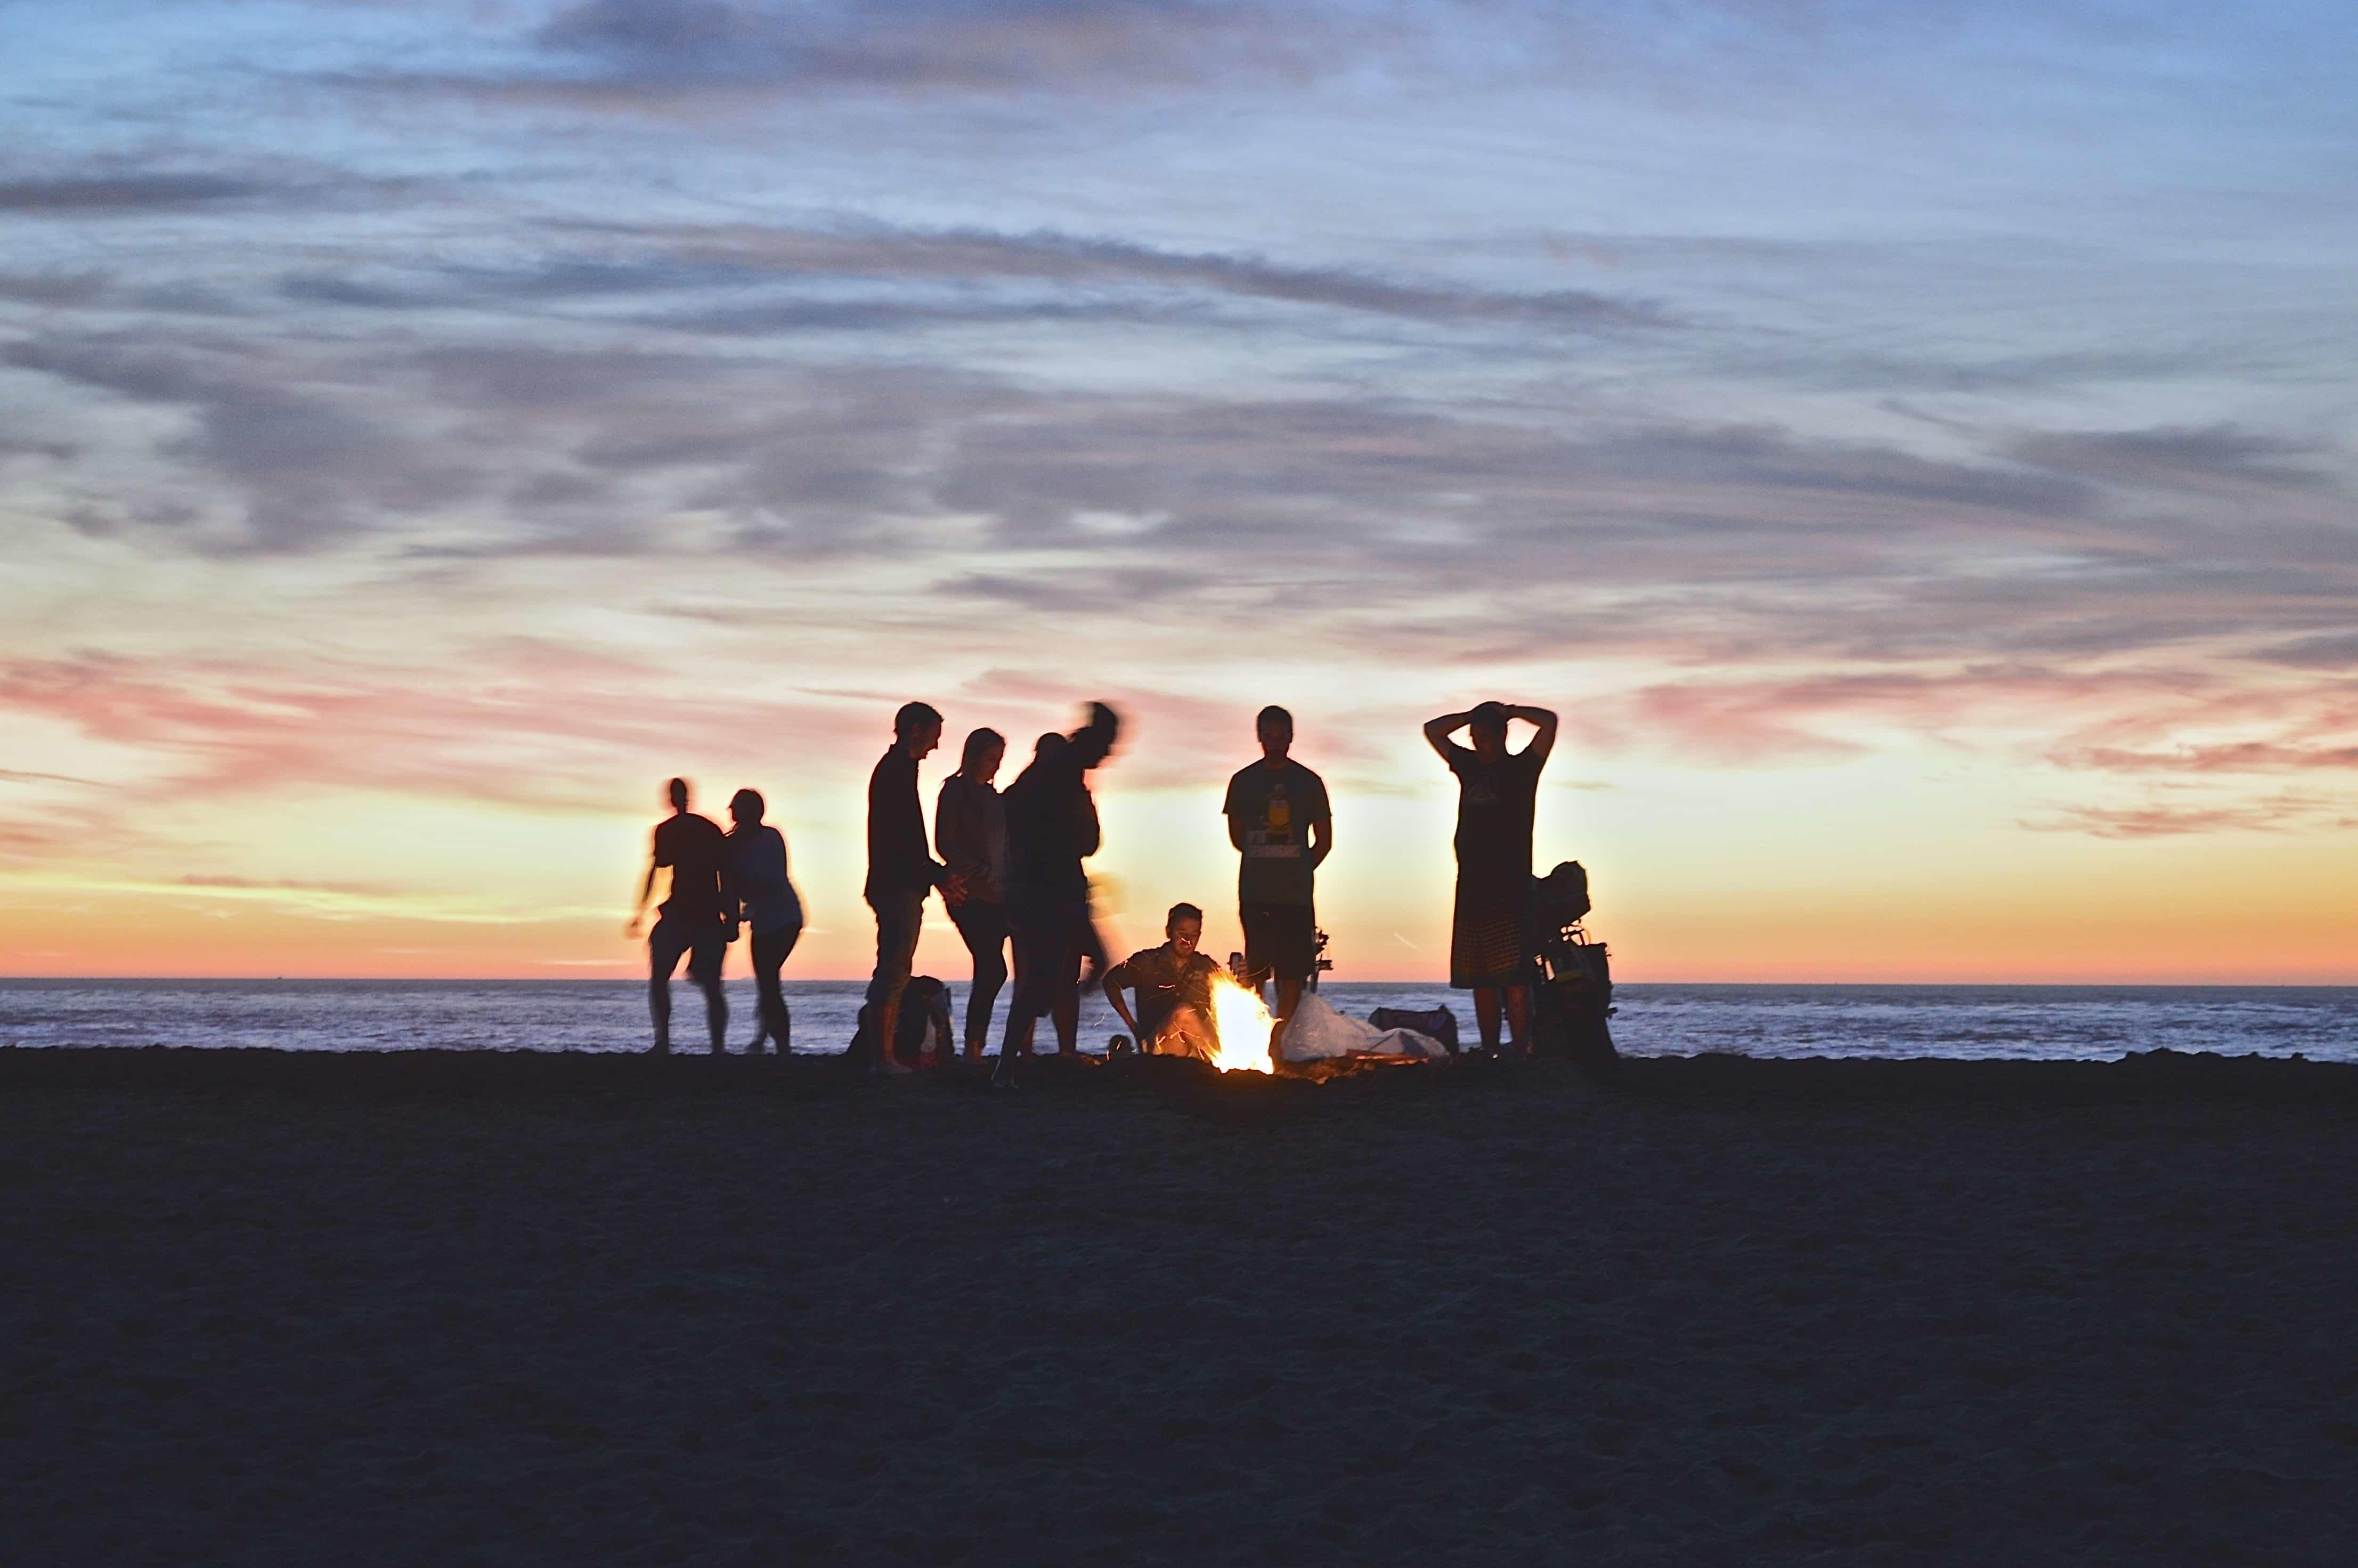
今回検証に使用した画像はこちらです。
https://unsplash.com/photos/AZMmUy2qL6A
Photo by Kimson Doan on Unsplash
オリジナル画像のスペックは、以下のとおりです。
- ファイルサイズ:約1.5M 大きさ:4426×2943(px)
コマンドで、WebPにコンバートします。コマンドは、webpではなくcwebpなので要注意。使い方は、こんな感じです。
$ cwebp [options] -q quality input.png -o output.webp実際に実行したものがこちら。
$ cwebp /path/to/kimson-doan-37947.jpg -o /path/to/kimson-doan-37947.webp
Saving file '/path/to/kimson-doan-37947.webp'
File:      /path/to/kimson-doan-37947.jpg
Dimension: 4426 x 2943
Output:    237060 bytes Y-U-V-All-PSNR 43.75 47.84 47.98   44.75 dB
block count:  intra4: 19832
              intra16: 31136  (-> 61.09%)
              skipped block: 2670 (5.24%)
bytes used:  header:            273  (0.1%)
             mode-partition:  52543  (22.2%)
 Residuals bytes  |segment 1|segment 2|segment 3|segment 4|  total
    macroblocks:  |       0%|       1%|       4%|      93%|   50968
      quantizer:  |      36 |      36 |      32 |      25 |
   filter level:  |      11 |      23 |      55 |      38 |
なんと、約237KBまでファイルサイズが落ちました!元画像が約1.5MBなので、大幅な最適化ができましたね!
弊社のLightFile Coreで処理した結果を、あわせて記載します。
- 元画像: 約1.5MB
- WebP: 約237KB
- LFC最高画質: 約1.5MB
- LFC高画質: 約1.1MB
- LFC標準画質: 約890KB
- LFC低画質: 約243KB
4KBの差で、WebPのほうがLightFile Coreよりも軽くなっています。今までまけ知らずでしたが、WebPすごいですね。。。画質に関しては、こちらにすべての比較データをまとめているので、ダウンロードしてご確認いただけます。なお、WebPの画像は、対応ビュワーが必要なので、Google Chromeに直接ドラッグアンドドロップすれば閲覧可能です。
実際にWebP画像を見てみましょう。WebP画像、ほぼ違和感ないですね。上記の比較画像で見てみると、空の部分で、雲のグラデーションに若干変化があるのがわかりますが、許容範囲内でした。
※WebP画像がみれない場合は、Google Chromeでみてみてください。
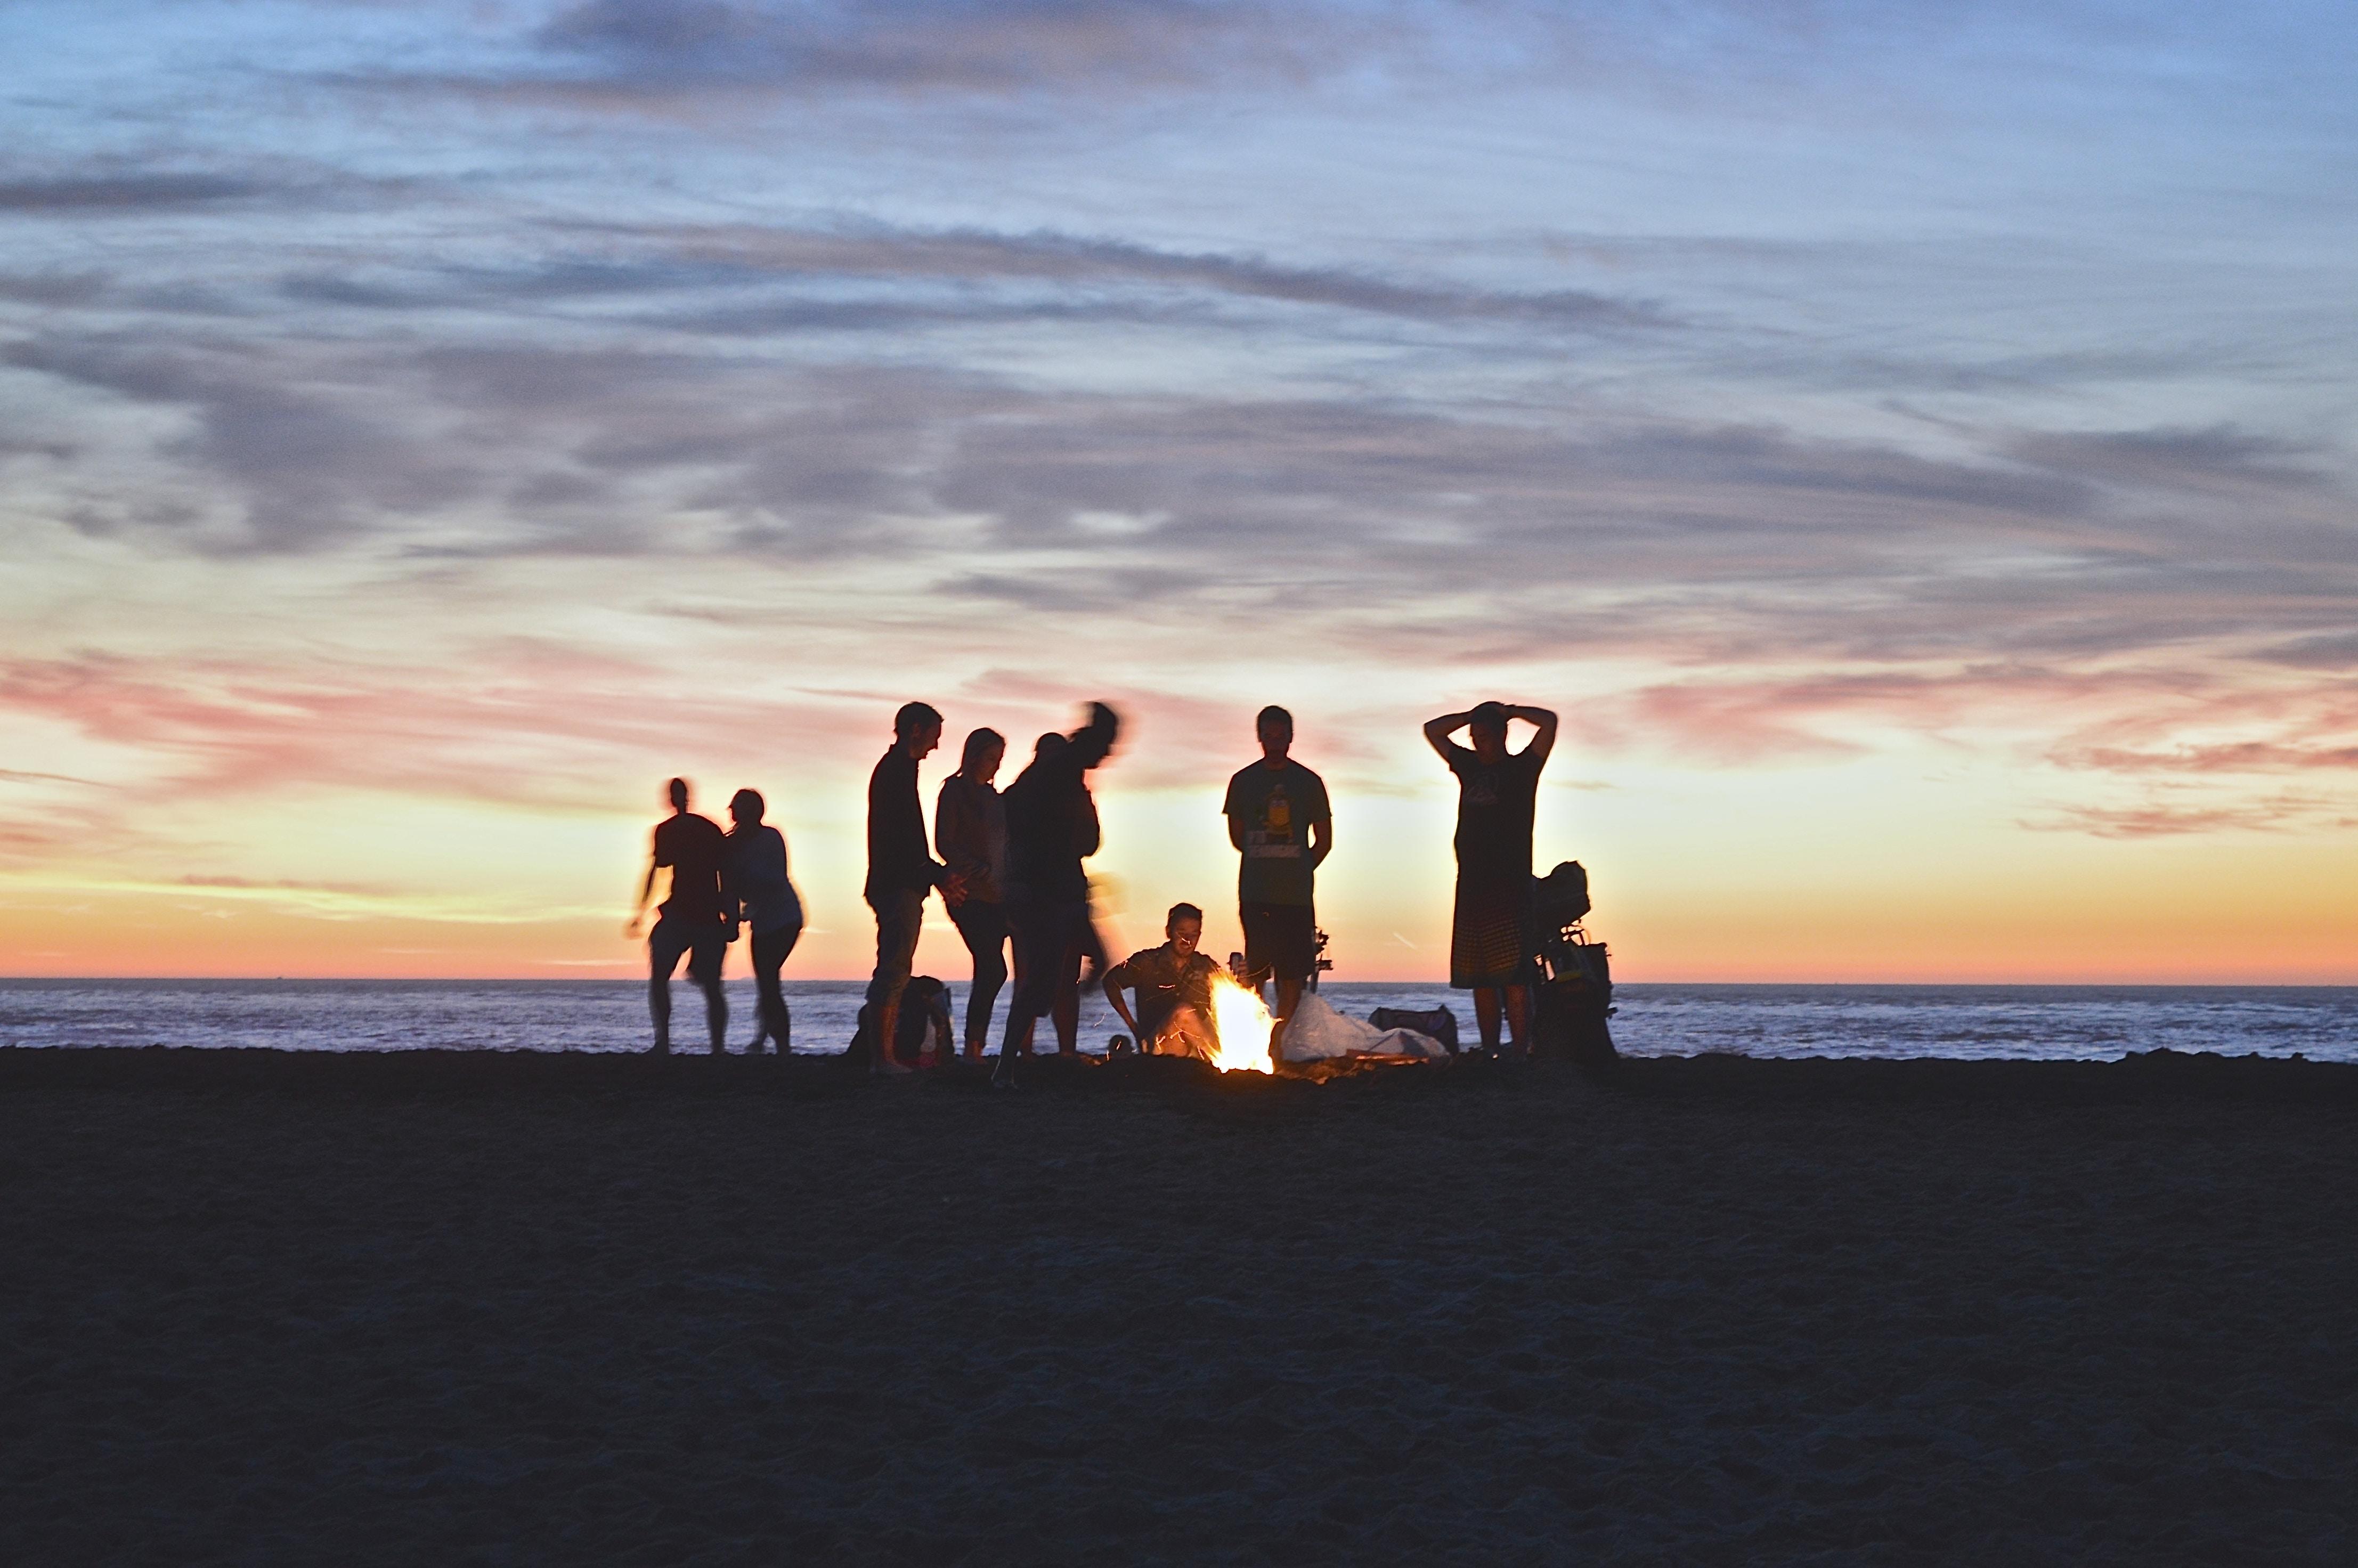 オリジナル画像 |
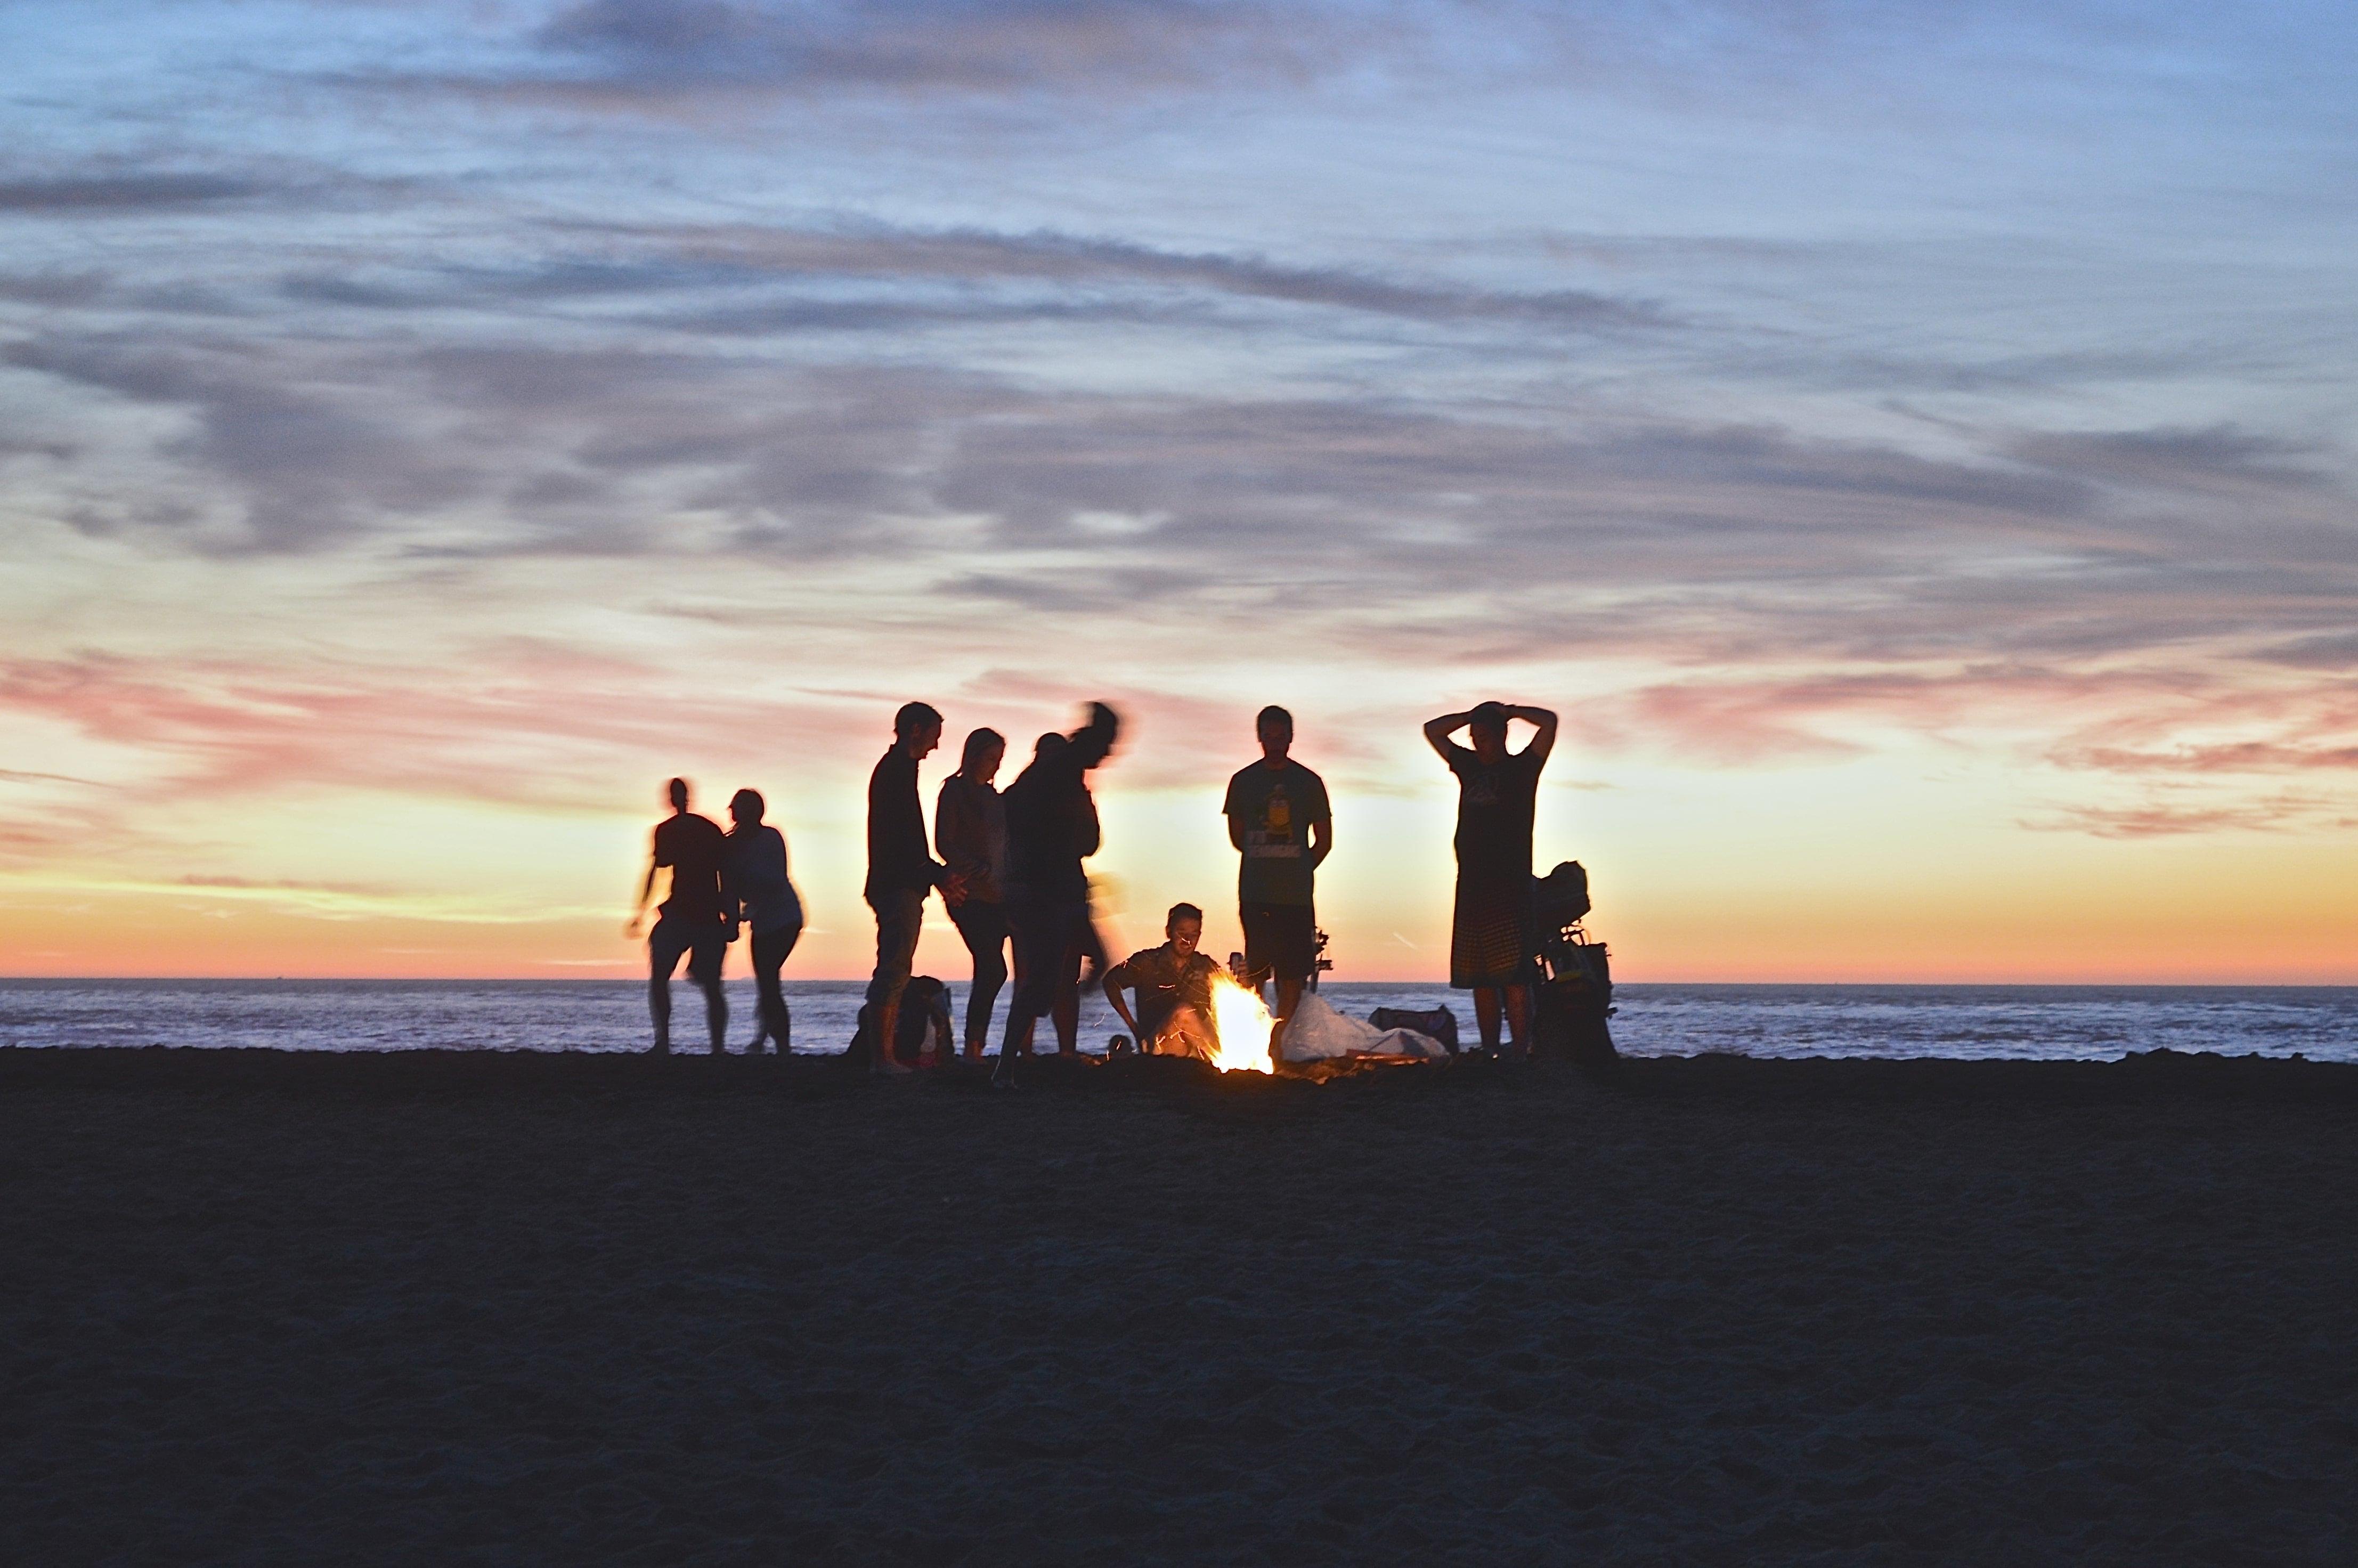 LightFile Core標準画質 |
 LightFile Core低画質 |
 WebP |
WebPは、まだ未対応ブラウザがある状況なので、指定の方法がいろいろ複雑な状況です。対応ブラウザを考慮して出力の出し分けが必要になります。が、これもそのうちほぼすべてのブラウザが実装してくるのではないでしょうか。未来のブラウザというよりも、むしろ過去のブラウザの対応の話が強いことが多いので。
LightFile Coreは、現状スタンダードなJPGの最適化を行うツールです。出し分けもしなくて良いですし、WebPとほぼ変わらないくらいのファイルサイズになることが検証してわかりました。レンダリングの速度はまた別の話になってくるのですが、まずはファイルサイズの軽量化をするのが指標としては間違いないですね。
JPGの最適化は、LightFile Core | 画像の最適化でページ表示を高速に!
自動でJPEGファイルを容量削減し、表示の高速化/転送量の削減を実現します。
最後に、cwebp --help の中身
ヘルプの一覧を記載しておきます。品質の指定、大きさやファイルサイズ指定、切り抜きなんかもオプションをみるとできそうですね。いろいろできそうです。
$ cwebp --help
Error! Unknown option '--help'
Usage:
 cwebp [-preset <...>] [options] in_file [-o out_file]

If input size (-s) for an image is not specified, it is
assumed to be a PNG, JPEG, TIFF or WebP file.

Options:
  -h / -help ............. short help
  -H / -longhelp ......... long help
  -q  ............. quality factor (0:small..100:big), default=75
  -alpha_q  ......... transparency-compression quality (0..100),
                           default=100
  -preset  ....... preset setting, one of:
                            default, photo, picture,
                            drawing, icon, text
     -preset must come first, as it overwrites other parameters
  -z  ............... activates lossless preset with given
                           level in [0:fast, ..., 9:slowest]

  -m  ............... compression method (0=fast, 6=slowest), default=4
  -segments  ........ number of segments to use (1..4), default=4
  -size  ............ target size (in bytes)
  -psnr  .......... target PSNR (in dB. typically: 42)

  -s   ......... input size (width x height) for YUV
  -sns  ............. spatial noise shaping (0:off, 100:max), default=50
  -f  ............... filter strength (0=off..100), default=60
  -sharpness  ....... filter sharpness (0:most .. 7:least sharp), default=0
  -strong ................ use strong filter instead of simple (default)
  -nostrong .............. use simple filter instead of strong
  -sharp_yuv ............. use sharper (and slower) RGB->YUV conversion
  -partition_limit  . limit quality to fit the 512k limit on
                           the first partition (0=no degradation ... 100=full)
  -pass  ............ analysis pass number (1..10)
  -crop     .. crop picture with the given rectangle
  -resize   ........ resize picture (after any cropping)
  -mt .................... use multi-threading if available
  -low_memory ............ reduce memory usage (slower encoding)
  -map  ............. print map of extra info
  -print_psnr ............ prints averaged PSNR distortion
  -print_ssim ............ prints averaged SSIM distortion
  -print_lsim ............ prints local-similarity distortion
  -d  .......... dump the compressed output (PGM file)
  -alpha_method  .... transparency-compression method (0..1), default=1
  -alpha_filter  . predictive filtering for alpha plane,
                           one of: none, fast (default) or best
  -exact ................. preserve RGB values in transparent area, default=off
  -blend_alpha  ..... blend colors against background color
                           expressed as RGB values written in
                           hexadecimal, e.g. 0xc0e0d0 for red=0xc0
                           green=0xe0 and blue=0xd0
  -noalpha ............... discard any transparency information
  -lossless .............. encode image losslessly, default=off
  -near_lossless  ... use near-lossless image
                           preprocessing (0..100=off), default=100
  -hint  ......... specify image characteristics hint,
                           one of: photo, picture or graph

  -metadata  ..... comma separated list of metadata to
                           copy from the input to the output if present.
                           Valid values: all, none (default), exif, icc, xmp

  -short ................. condense printed message
  -quiet ................. don't print anything
  -version ............... print version number and exit
  -noasm ................. disable all assembly optimizations
  -v ..................... verbose, e.g. print encoding/decoding times
  -progress .............. report encoding progress

Experimental Options:
  -jpeg_like ............. roughly match expected JPEG size
  -af .................... auto-adjust filter strength
-pre ............. pre-processing filter フォローしませんか?


